

“Oh, you better be joking! Negan...Lucille...I know I had to make a pretty strong first impression!”
Building the Famed Bat
You might be asking yourself, ‘why did he build a replica of a deadly melee weapon?’ The answer is really, very simple: because it wasn’t too hard and it looks cool as hell.
Below I will outline the building process of how I made a 1:1 replica of the comic-famous weapon, the cost breakdown, and the tutorial I consulted to successfully complete this project.
Step 1: Acquire the Supplies
The search for supplies was not as challenging as I had expected. The components of this item are fairly straightforward:
Super Slugger Baseball Bat 36”
U-Nails
Wood Stain
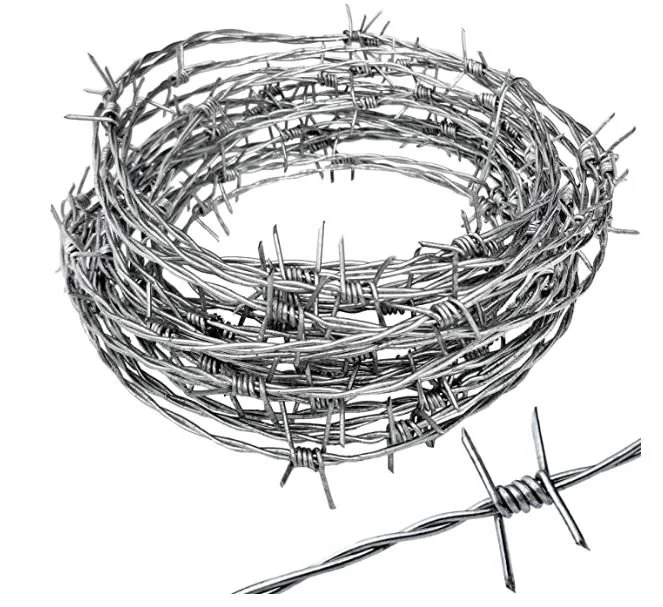
16-Gauge Barbed Wire (25 foot length)
These are all items that can be picked up from a hardware store or sporting goods store. Funny enough, I managed to find the wire on eBay in small sections like 25 foot cuts. It was also extremely sharp which made it a hazard around soft materials. Like drapes…and bedding…

Step 2: Trimming the Wire
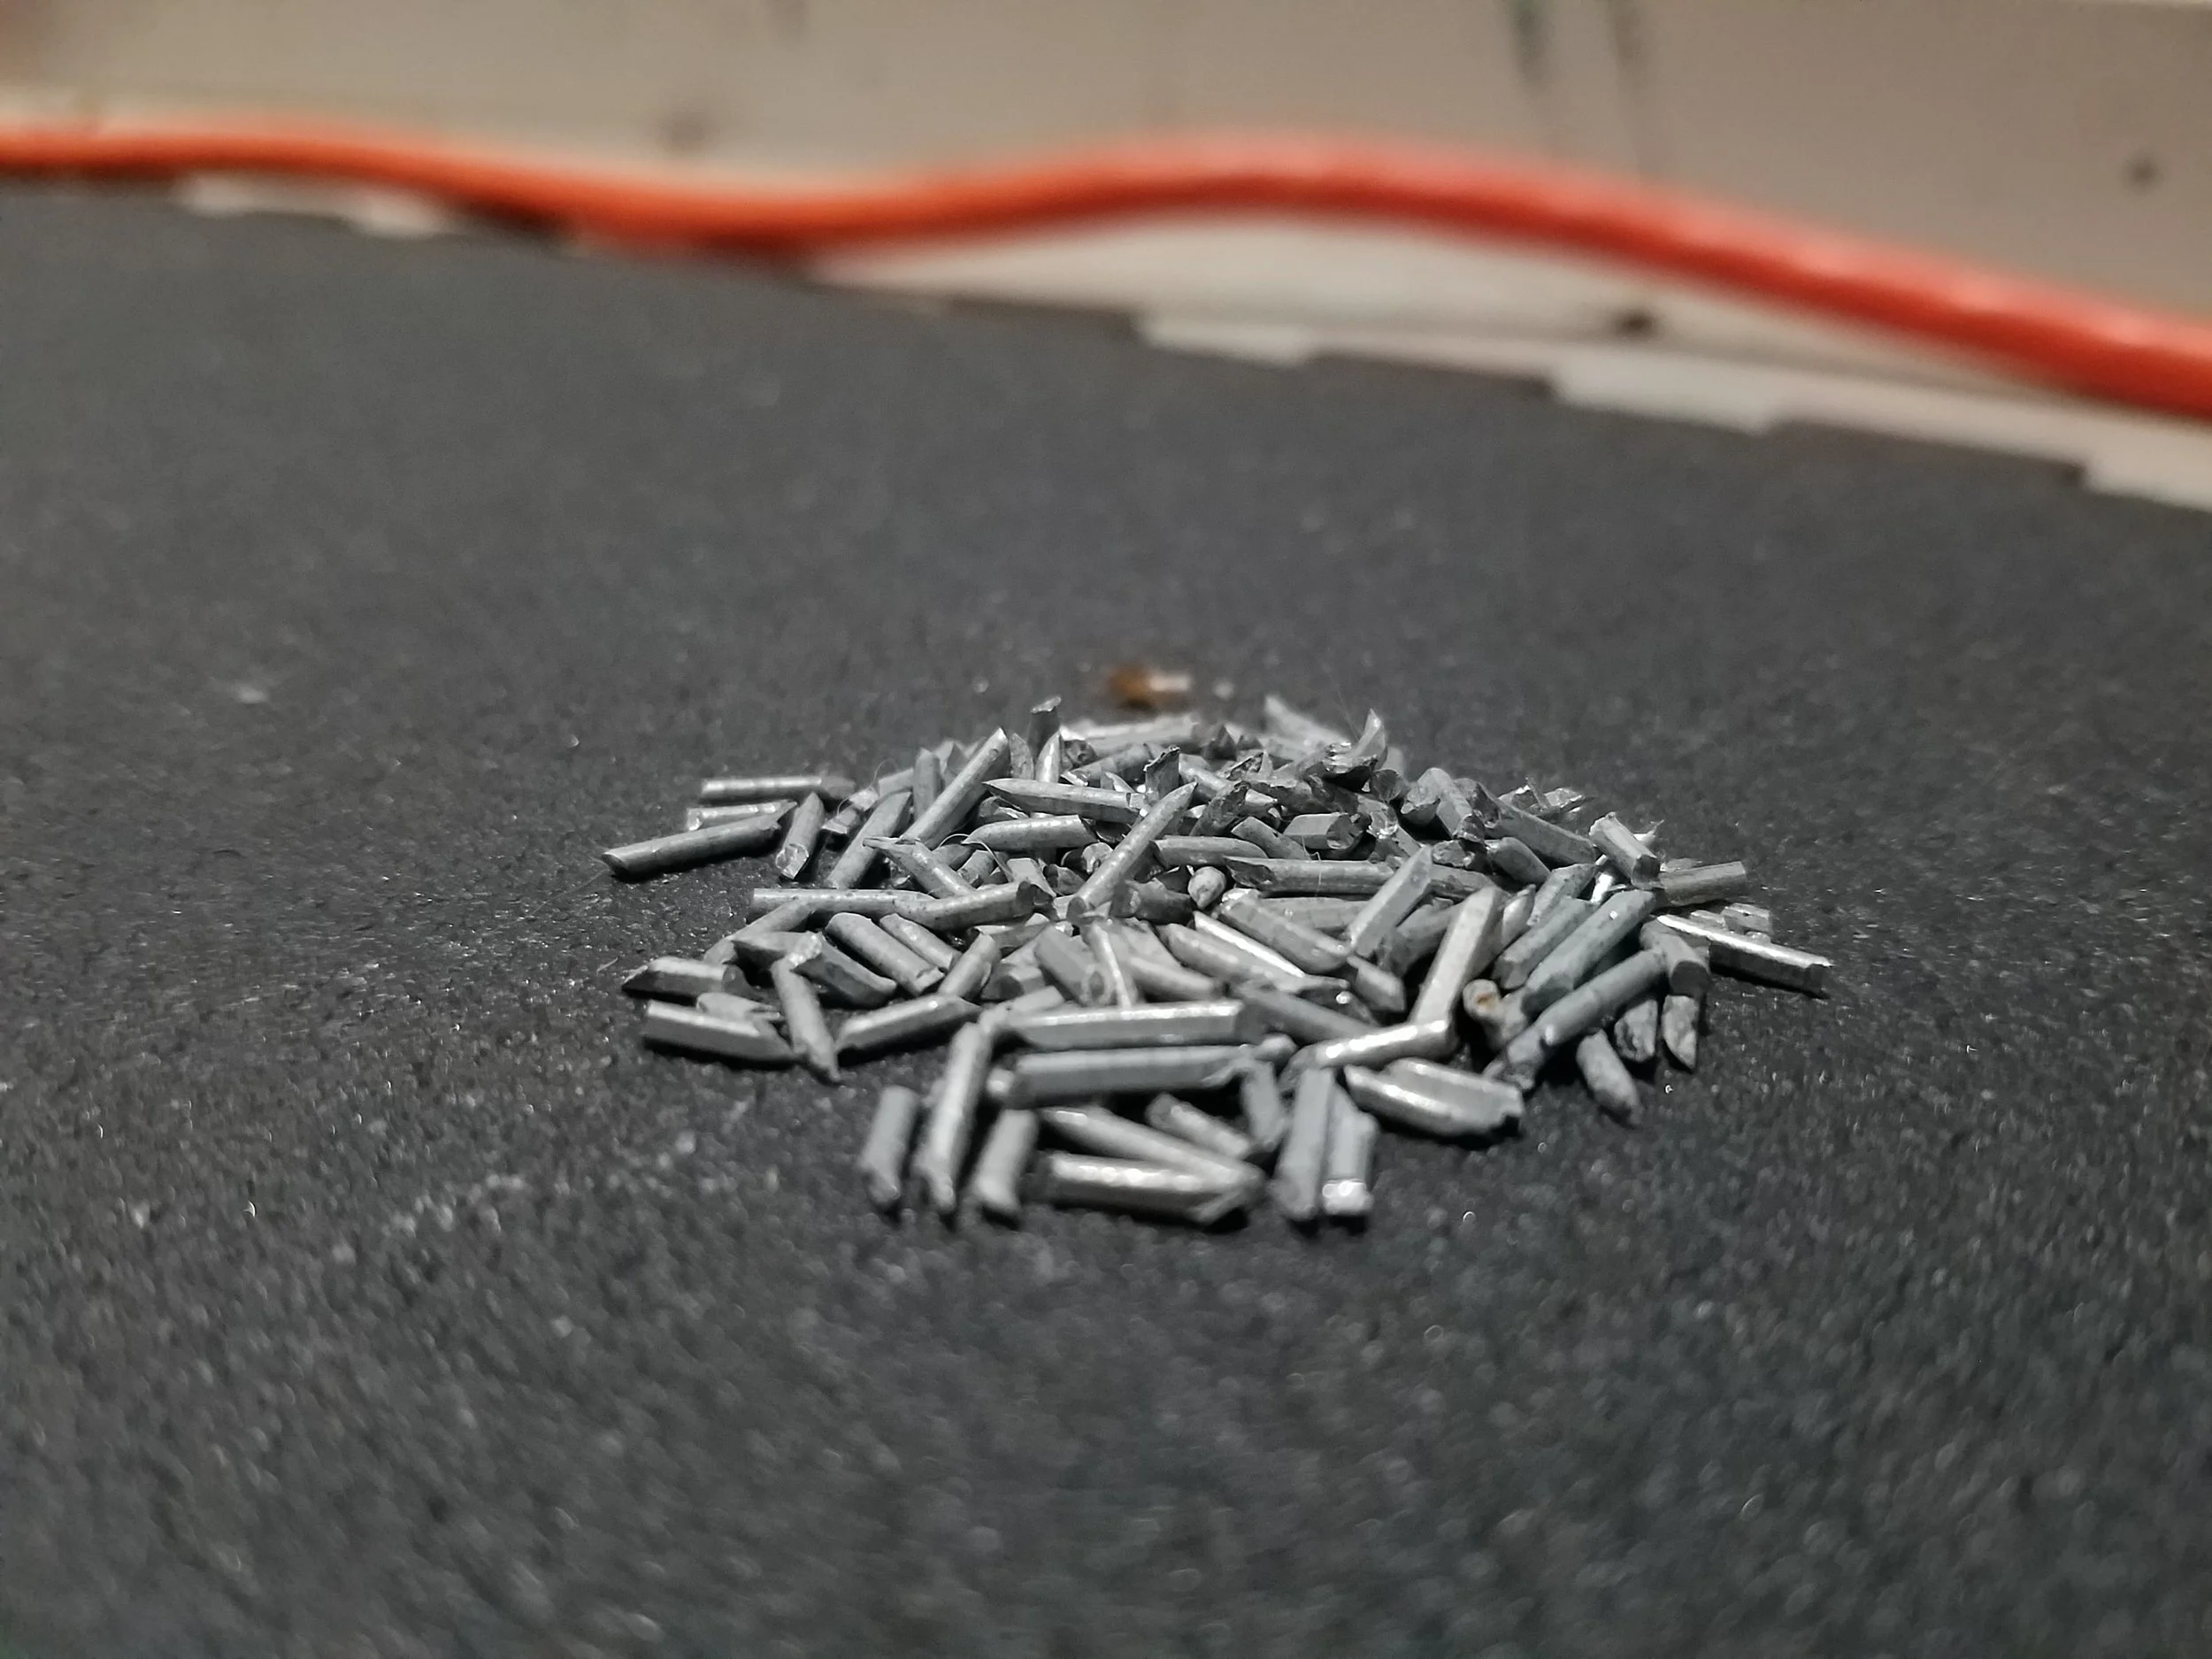
The 16-gauge wire is the standard for this item, though, the way these barbs come they are extremely sharp and quite long. To have the metal be television accurate, I had to use wire cutters to trim the barbs down to about half the size.
This was probably the longest part of the process. Cutting each barb for the entire length of the wire was hard enough, but with four prongs on each break, it was x4 for everything. The picture below are the remnants of the now stunted edges.
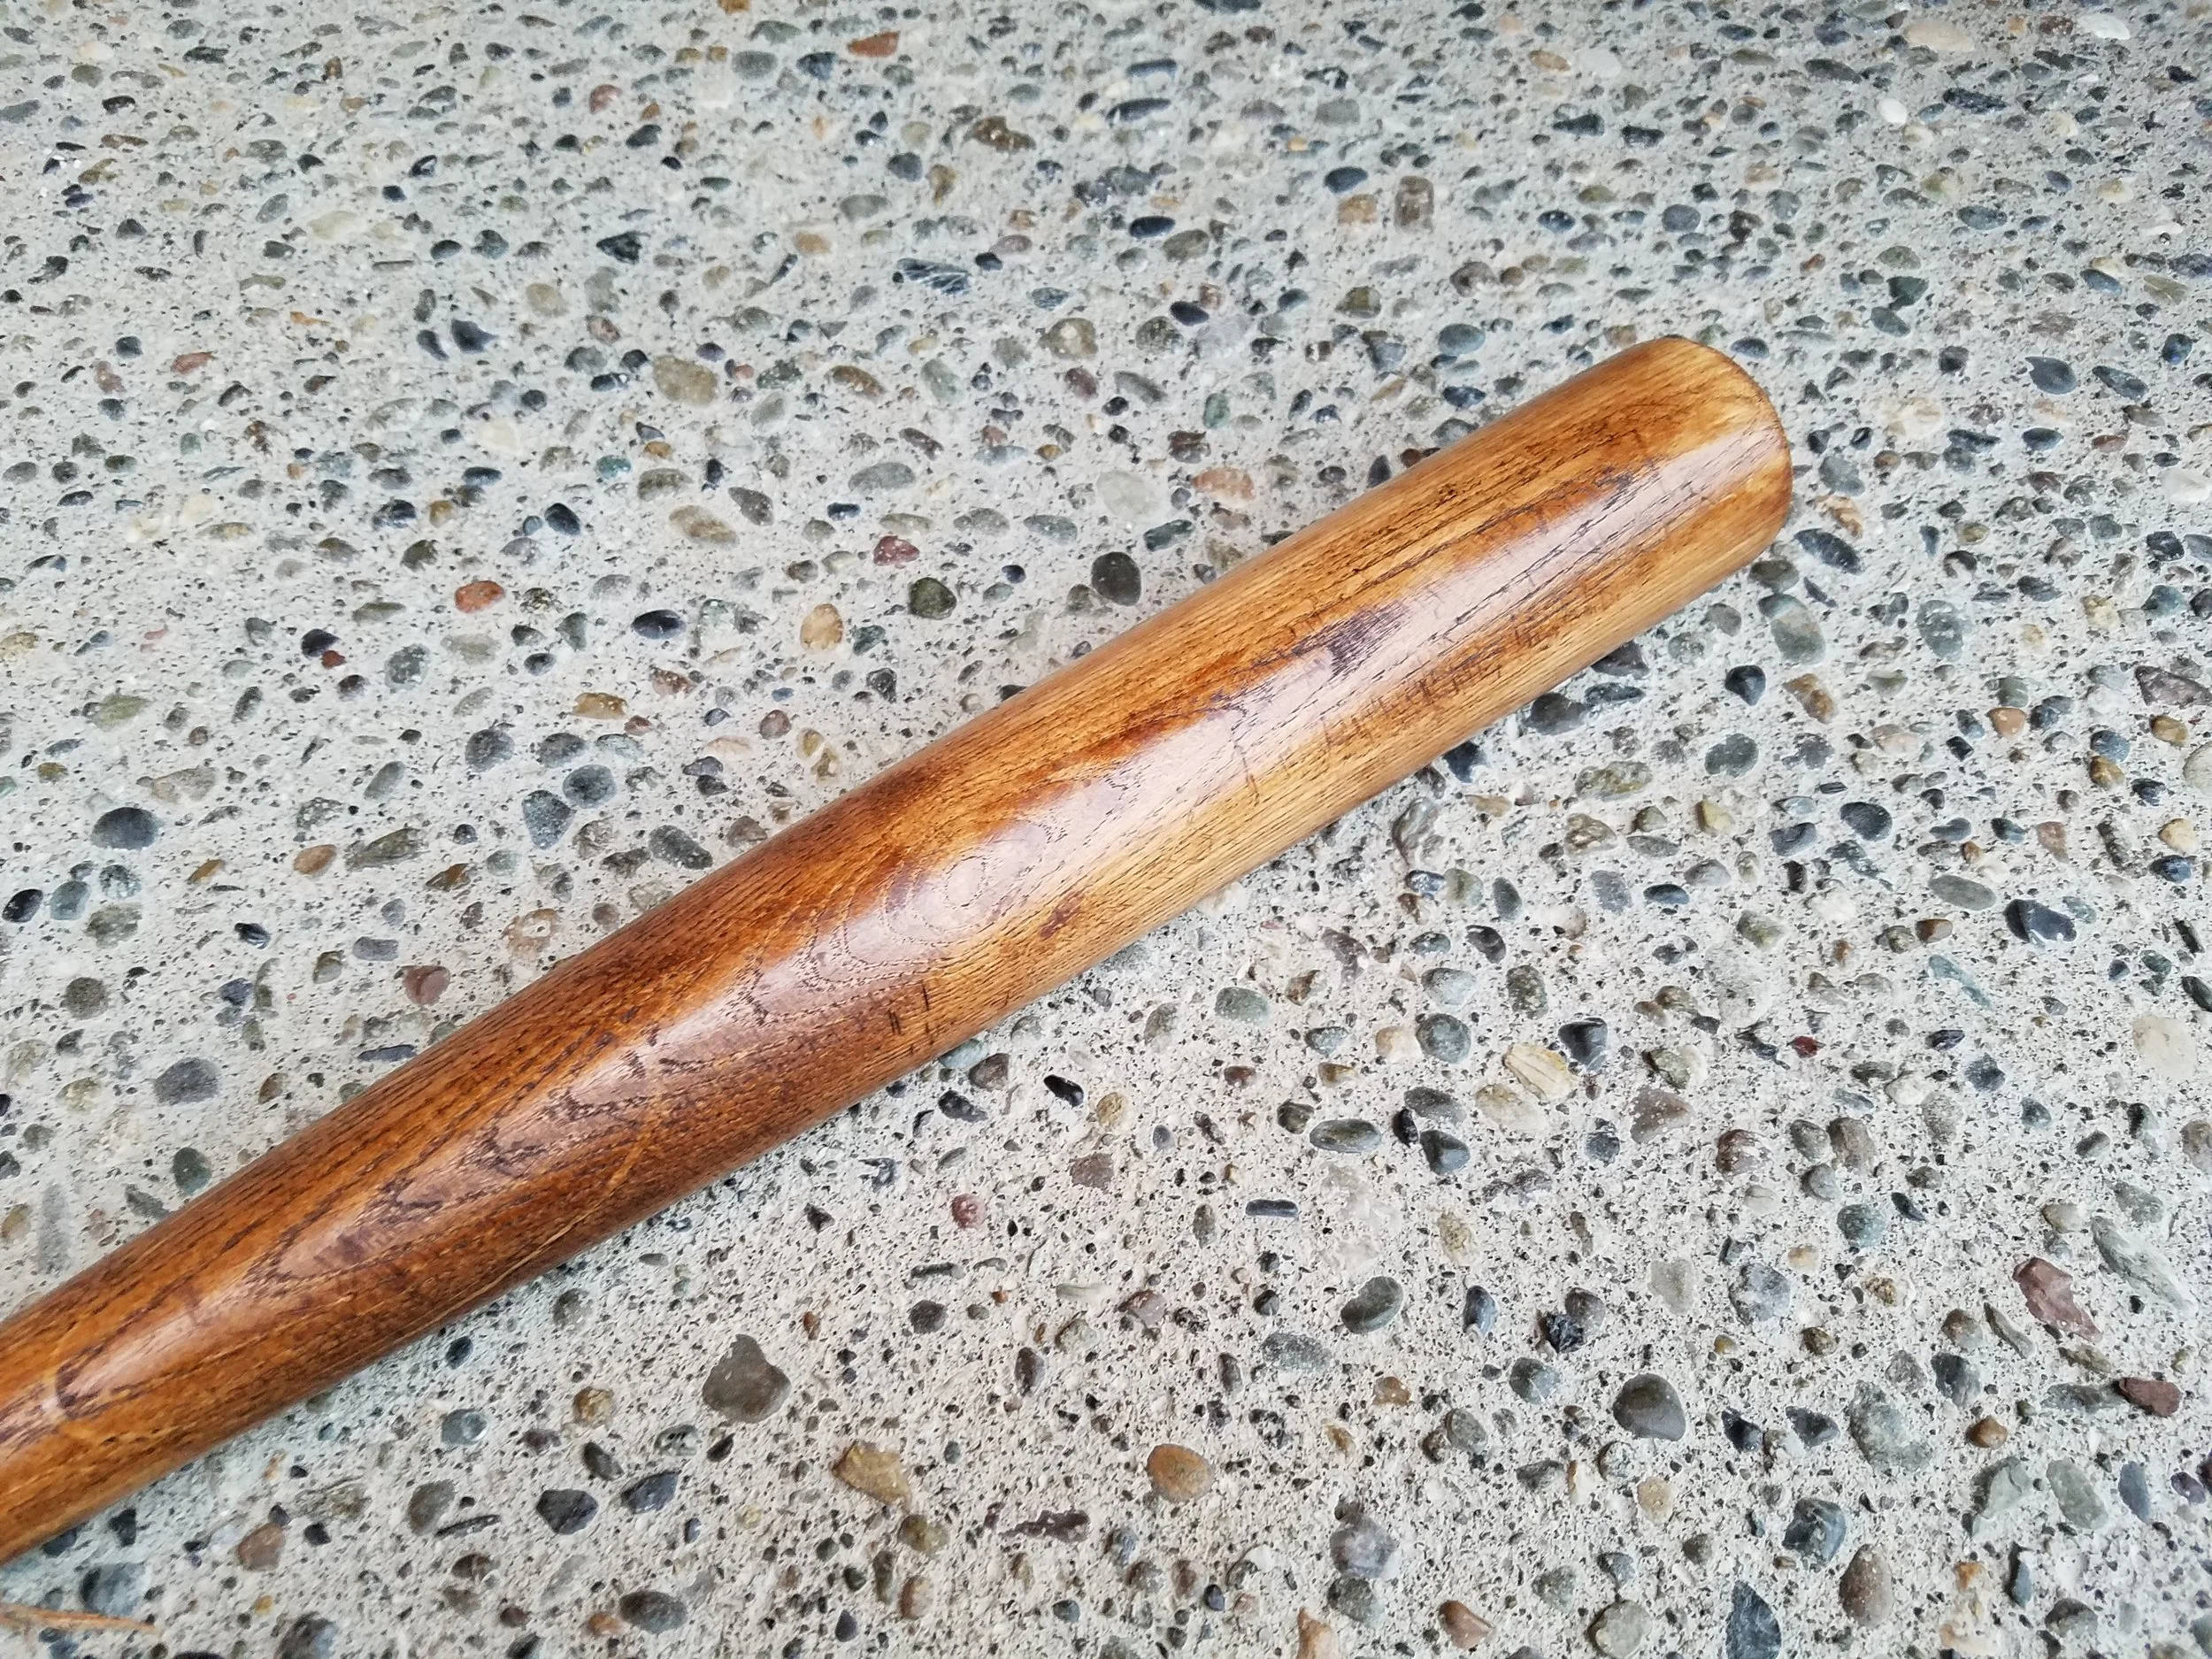
Step 3: Sanding
Sanding was not particularly challenging, but it was a little awkward. I utilized a powered sander and ran up and down the shaft of the bat length-wise to remove the paint and clearcoat. The clearcoat is what trashed my sanding pads, and I think I went through about four pads altogether.

Once complete, the entire baseline of the wood was pristine from markings, save for a couple of the etchings that were inlaid from its manufacturing. That proved to be EXTREMELY helpful in the future though, regarding the circle around the “Slugger” logo.
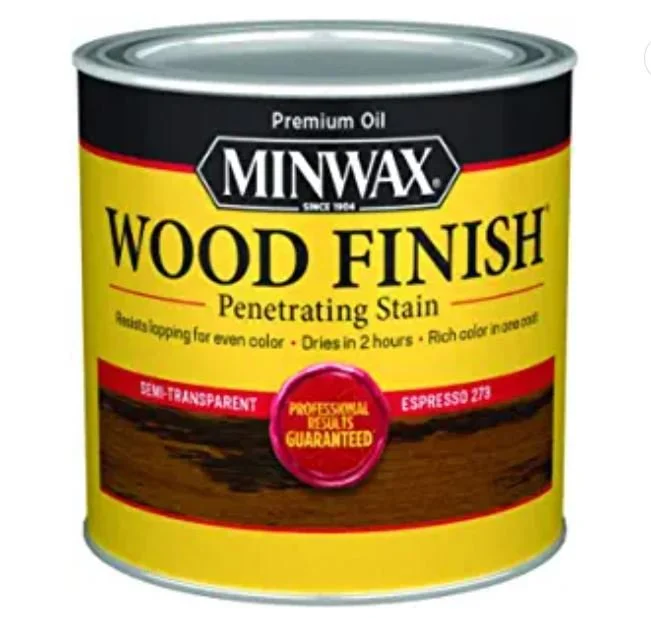
Step 4: Staining and Weatherproofing
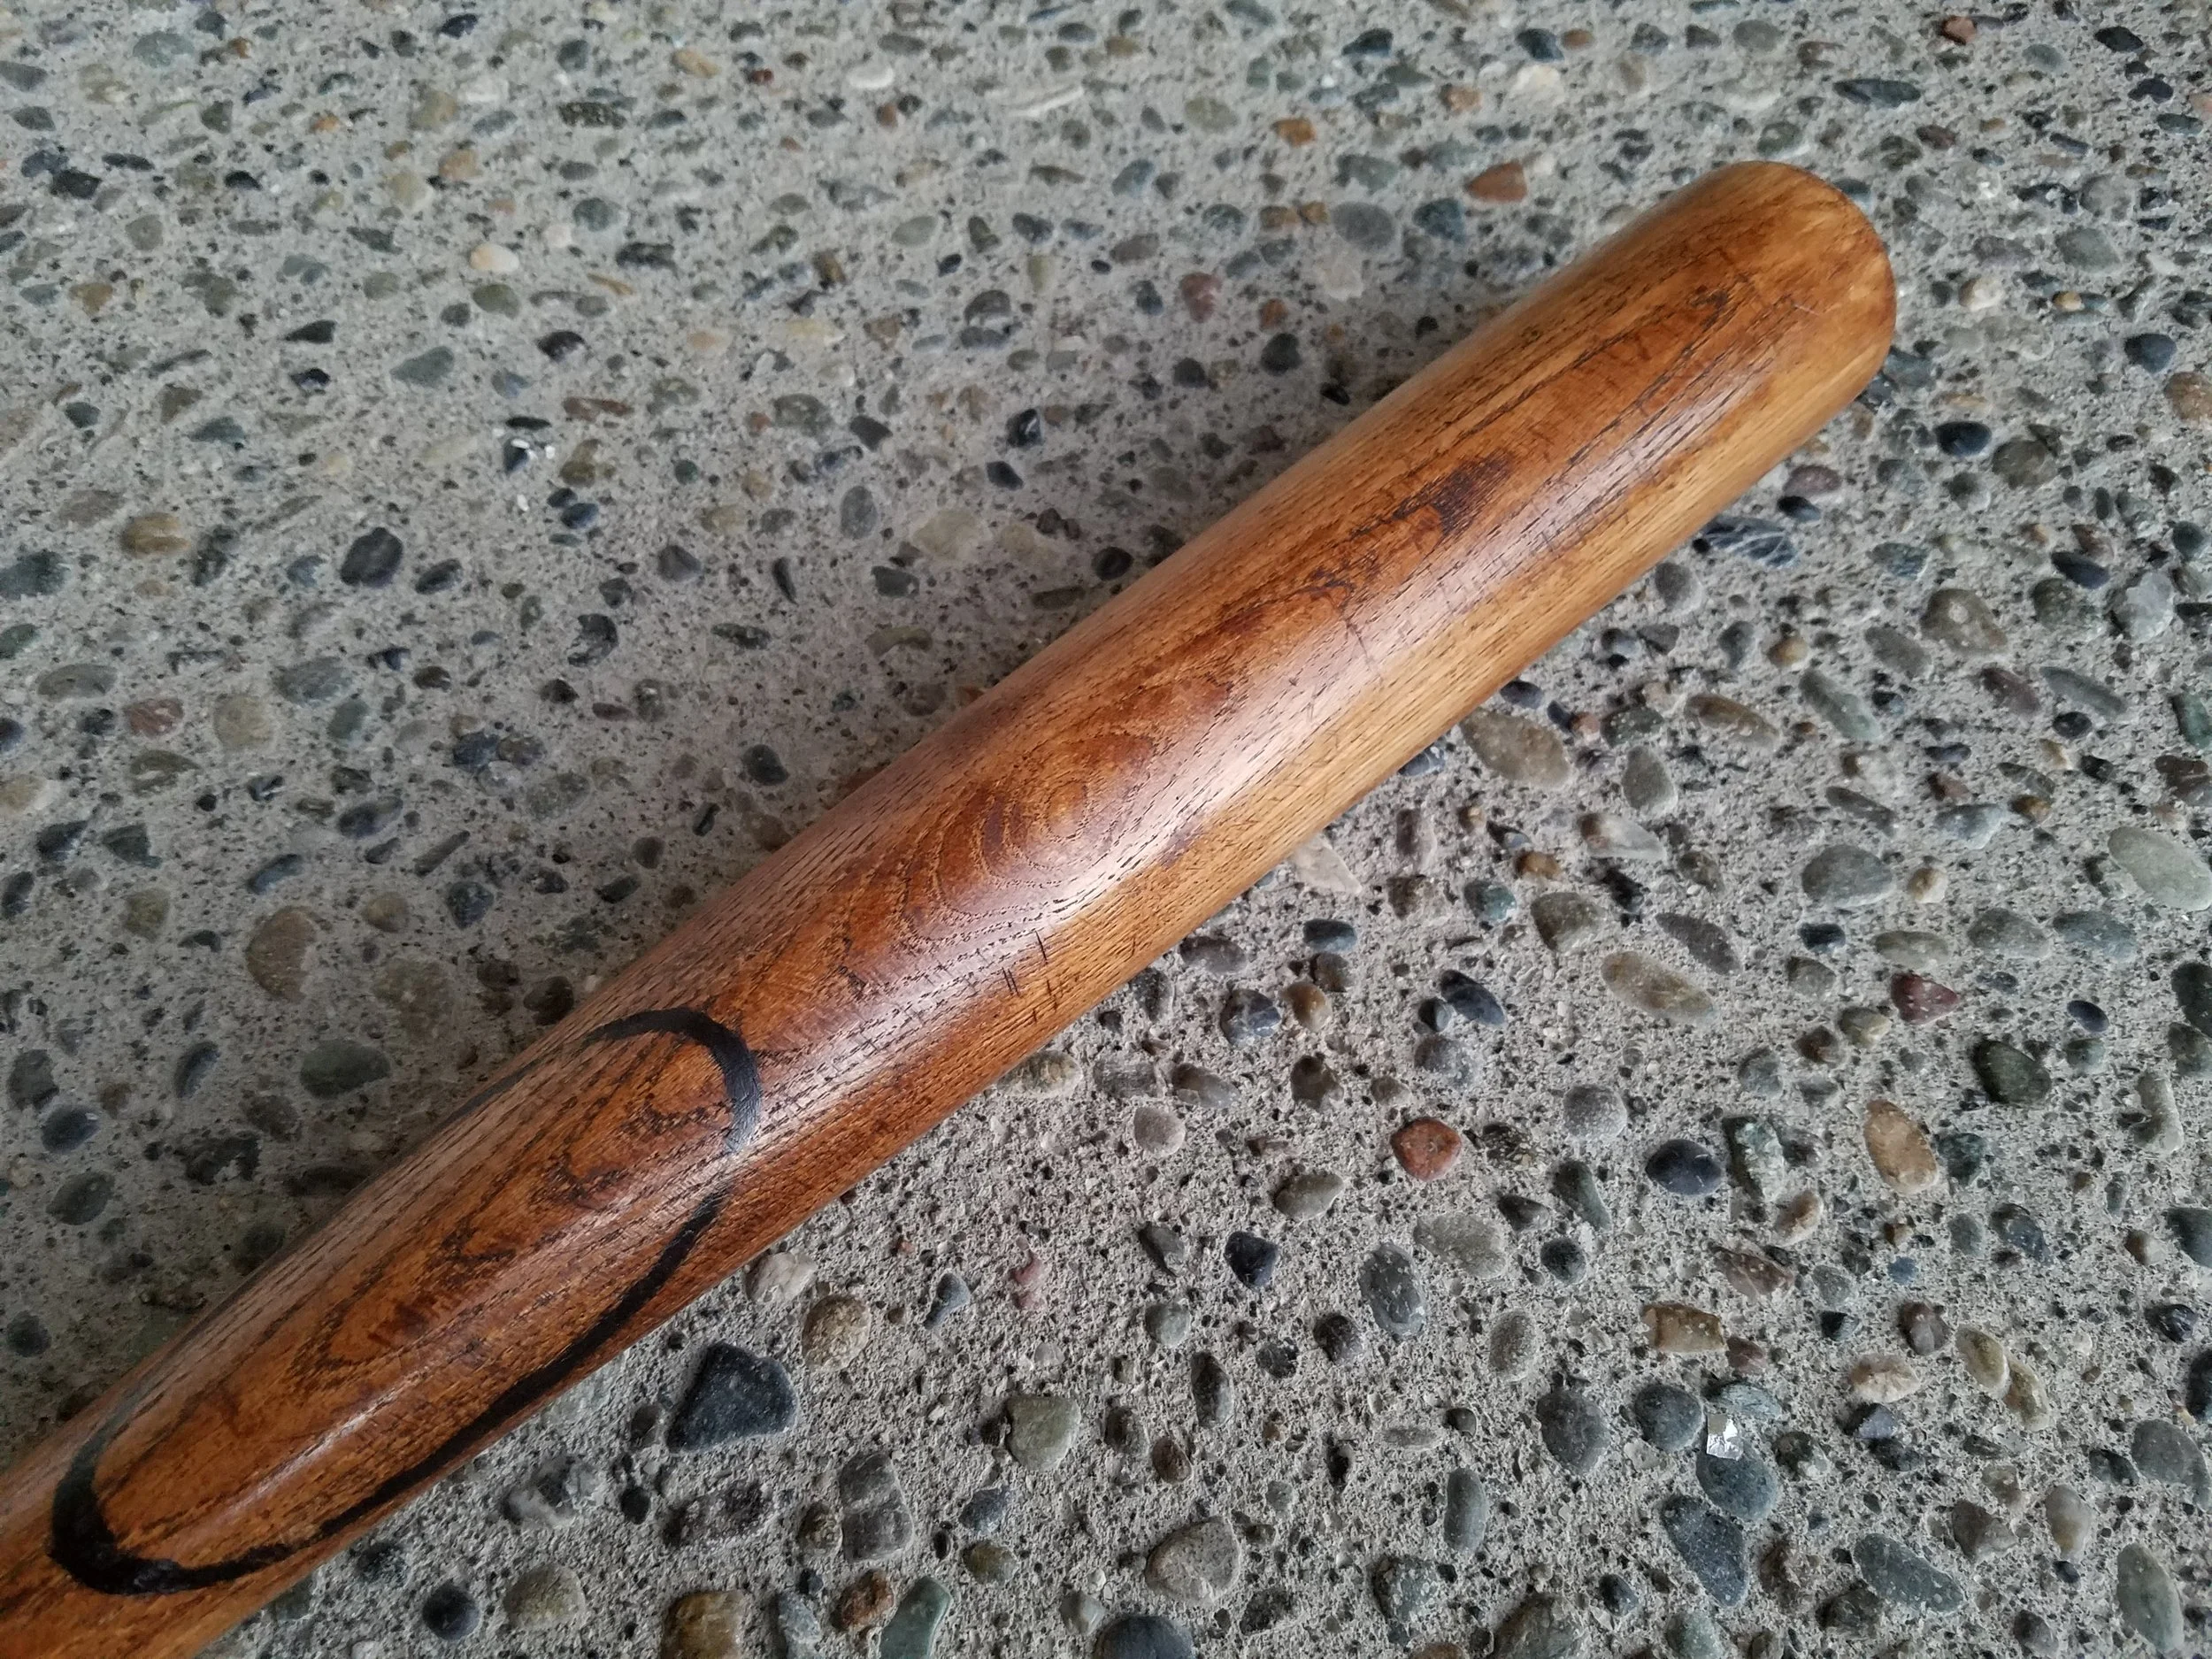
At this point, it is coming along nicely and starting to get the look I was striving for. I picked up some of that stain I mentioned earlier at Lowe’s and got to work. Using cloth, I did one side at a time and made sure the touchups matched. Fortunately, if there are off areas with color, it adds to the weathered, aged appearance.
You’ll notice towards the taper in the corner of this picture you can see the outline of that circle which was formerly the logo and branding. During painting, I was able to trace that with the black paint and keep it symmetrical to fit the show appearance.
Weatherproofing was done by tying a string around the nob and hanging it outside on the front porch from the flower pot holders.
Giving it a few coats of the enamel was sufficient, weatherproofing the stain and protecting the wood before the wrapping began.
Step 5: Paint
Likely the shortest step in the entire project, the paint was only for the logo. The circle took acrylic black paint, and once dry, I took a sanding pad and weathered it according to pictures from the TV series.
Step 6: Wrapping the Wire
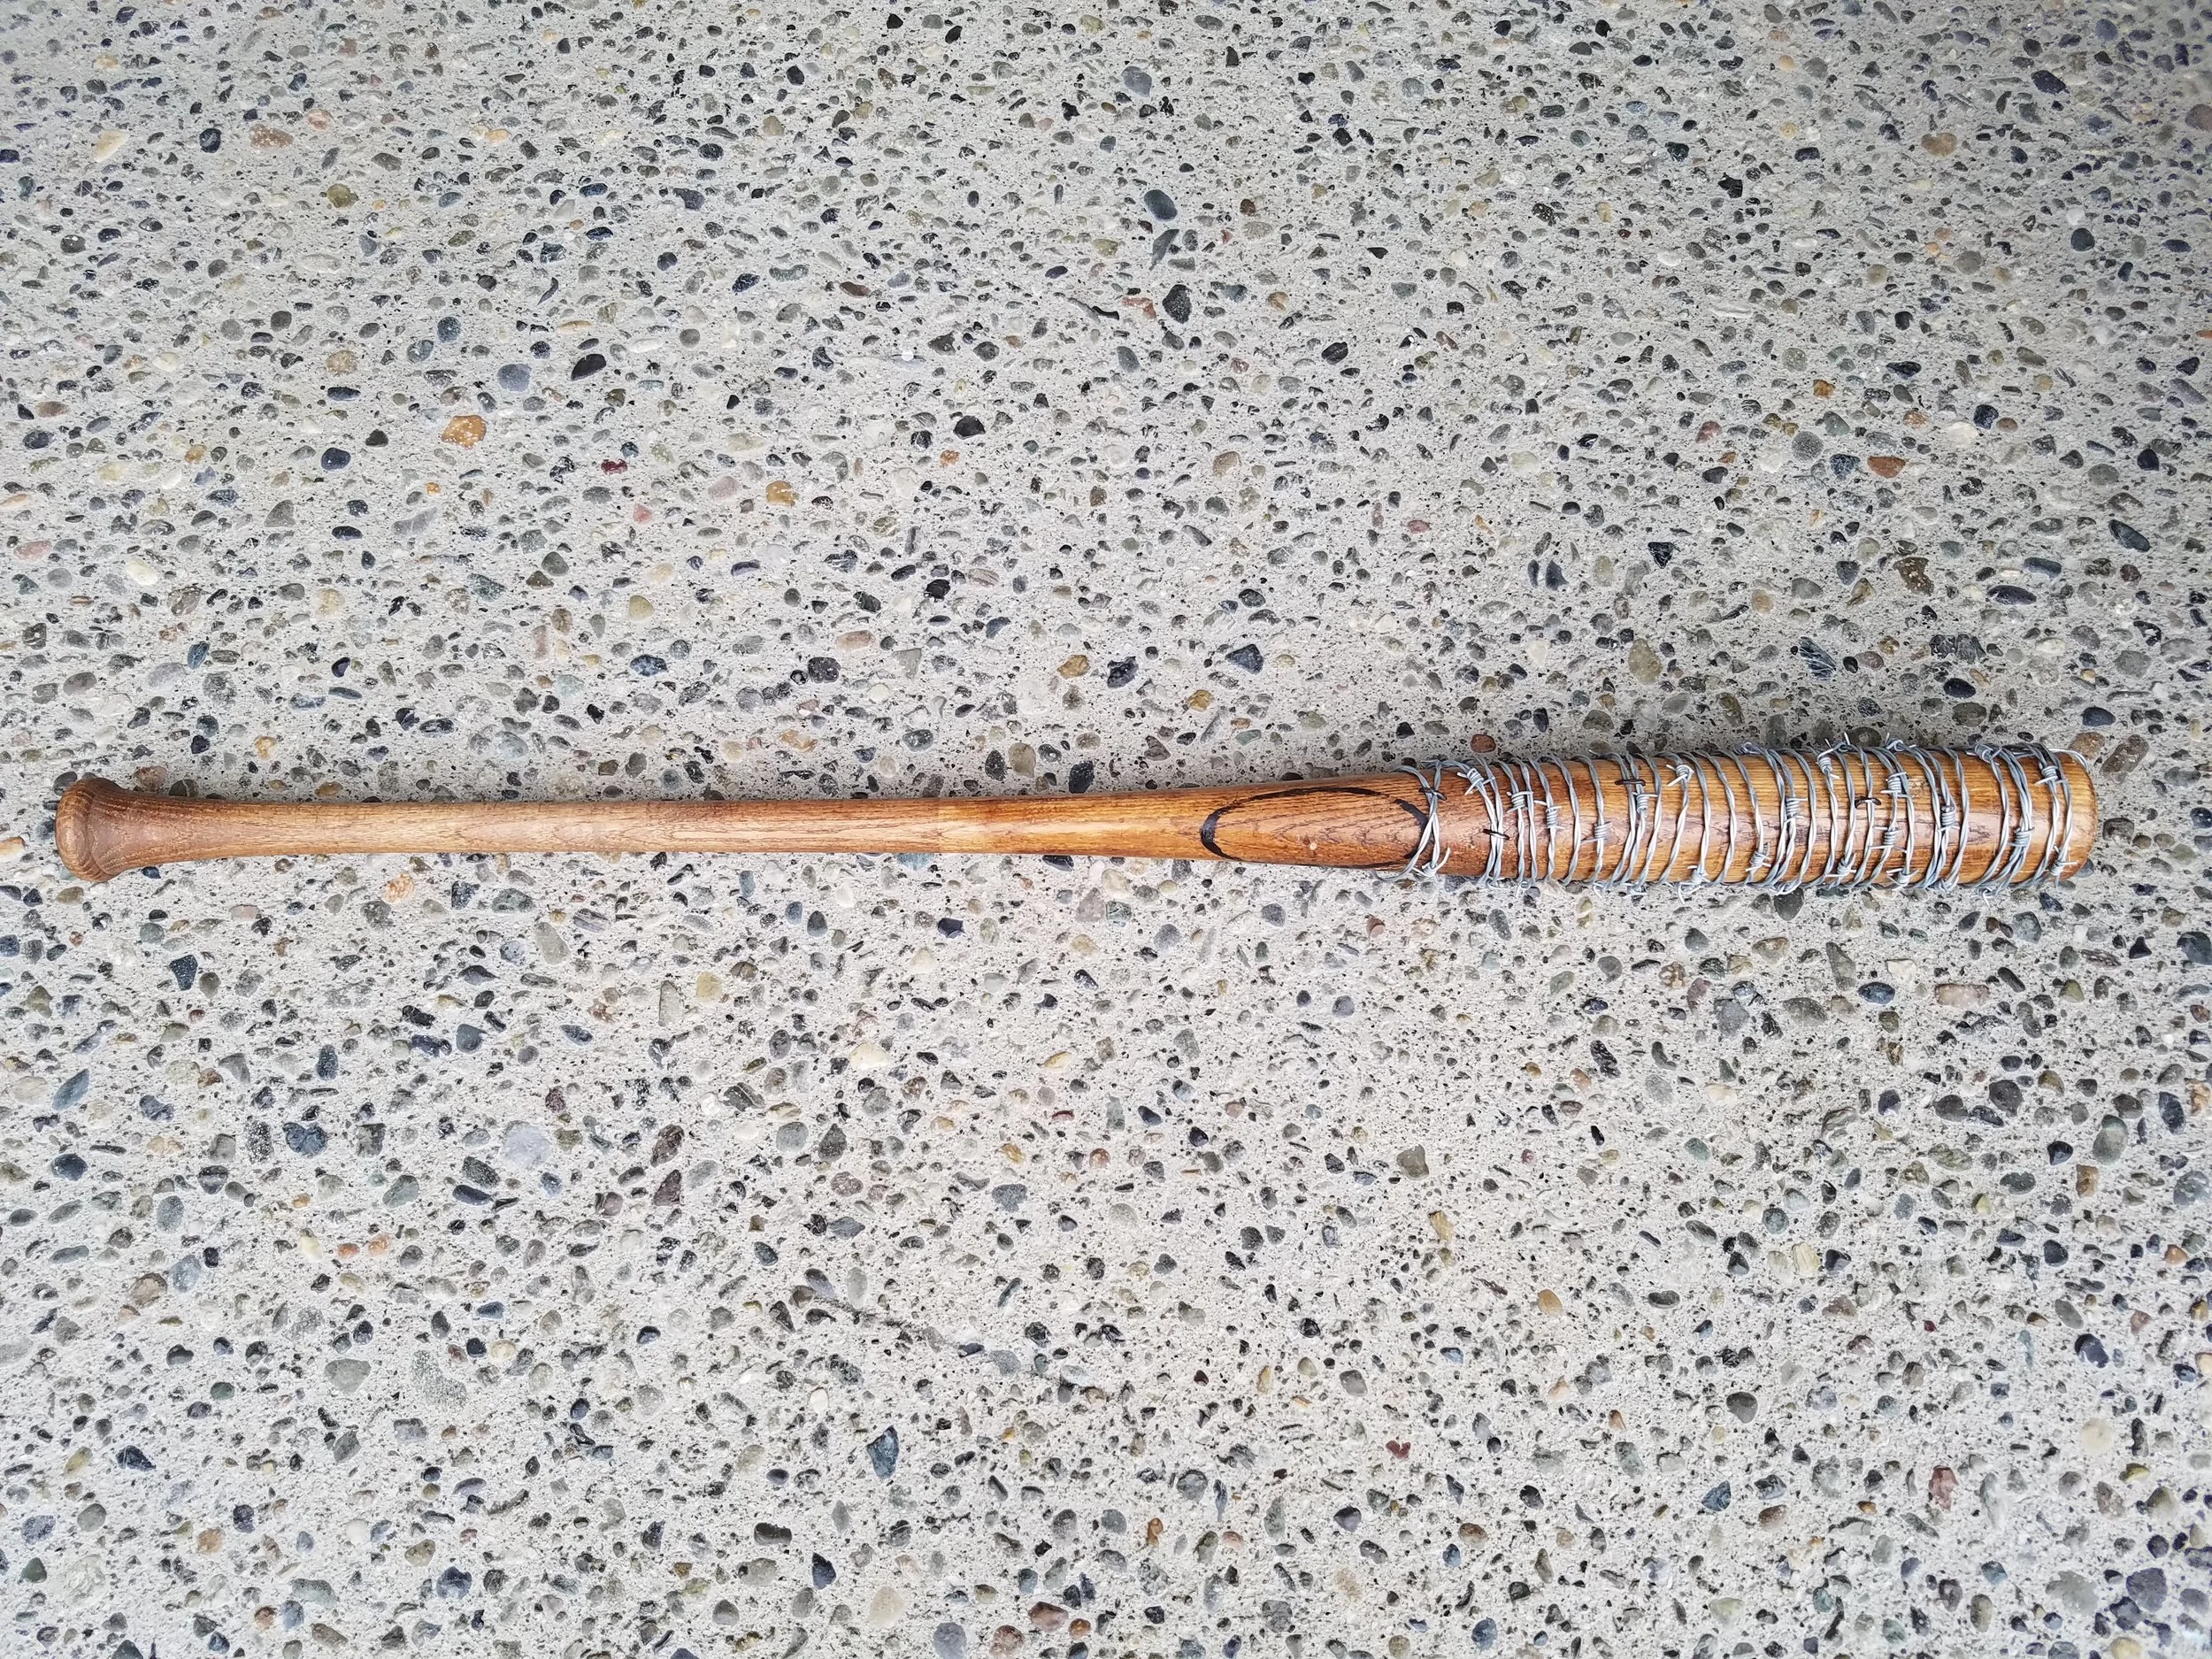
The final step of the project was to wrap the bat in the 25 foot strand of trimmed barbed wire. I was blown away by how difficult this type of wire is to manipulate. After all, it is steel.
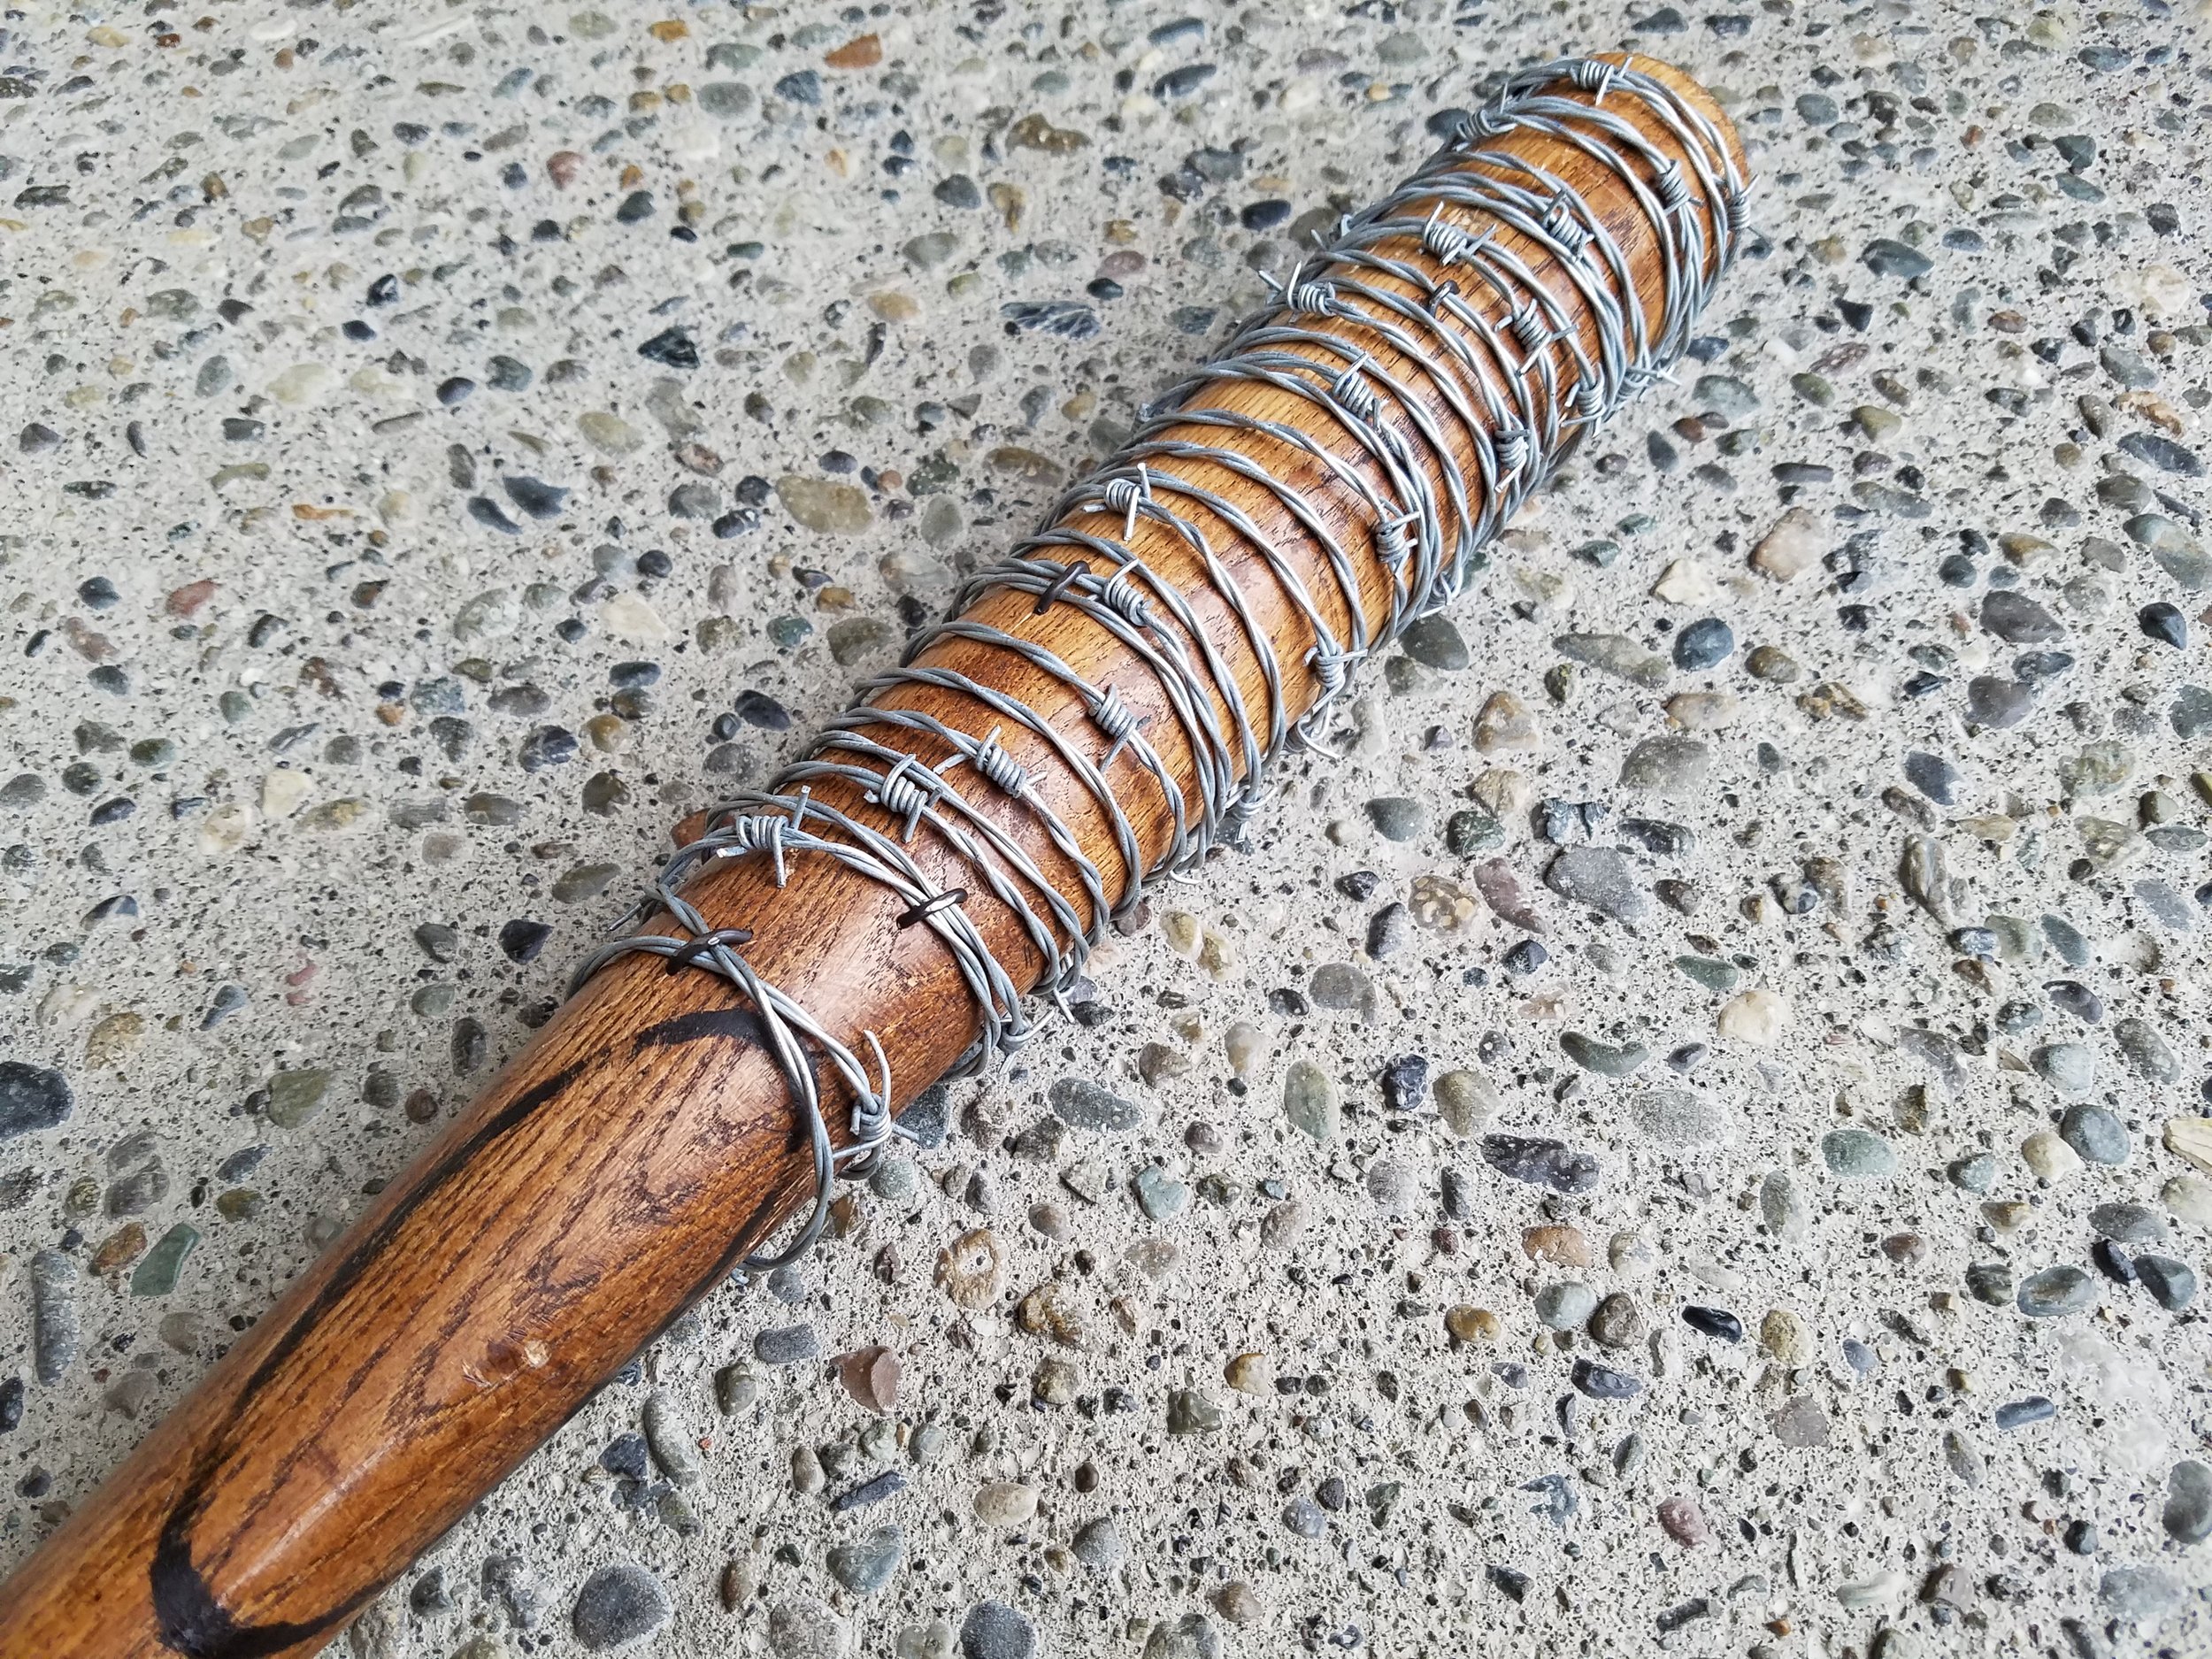
I pinched one end in the vice on my workbench and hammered a u-shaped nail at the top of the bat to get the it started. Once that was solid, pulling as tightly as I could, I began to wrap the wire taught around the barrel, placing u-nails as I went.
There was no overlap of wire until the taper where I managed to crossover and finish the u-nail fittings flush with one of the barbs to give it that continuous feeling. There is no real start to the wire strand and there is no real end.
The end result, was well worth it.
Behold, Lucille…
Want to try it yourself?
This is the phenomenal tutorial I followed by Luke101. He shows step by step how he got the desired look for the replica and even adds some red paint to give it that extra… “touch.”
Give it a watch, and thanks again for taking the time to read all about this project.